
Designed to Be Seen: Using 3-Sided Wood Panels as a Finished Feature
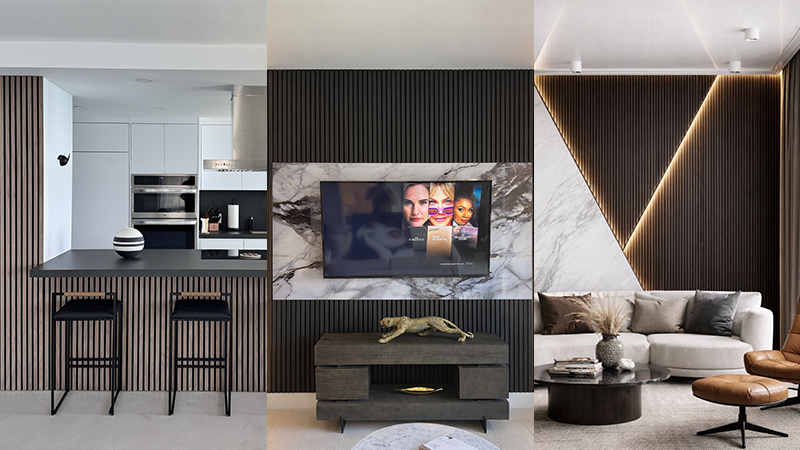
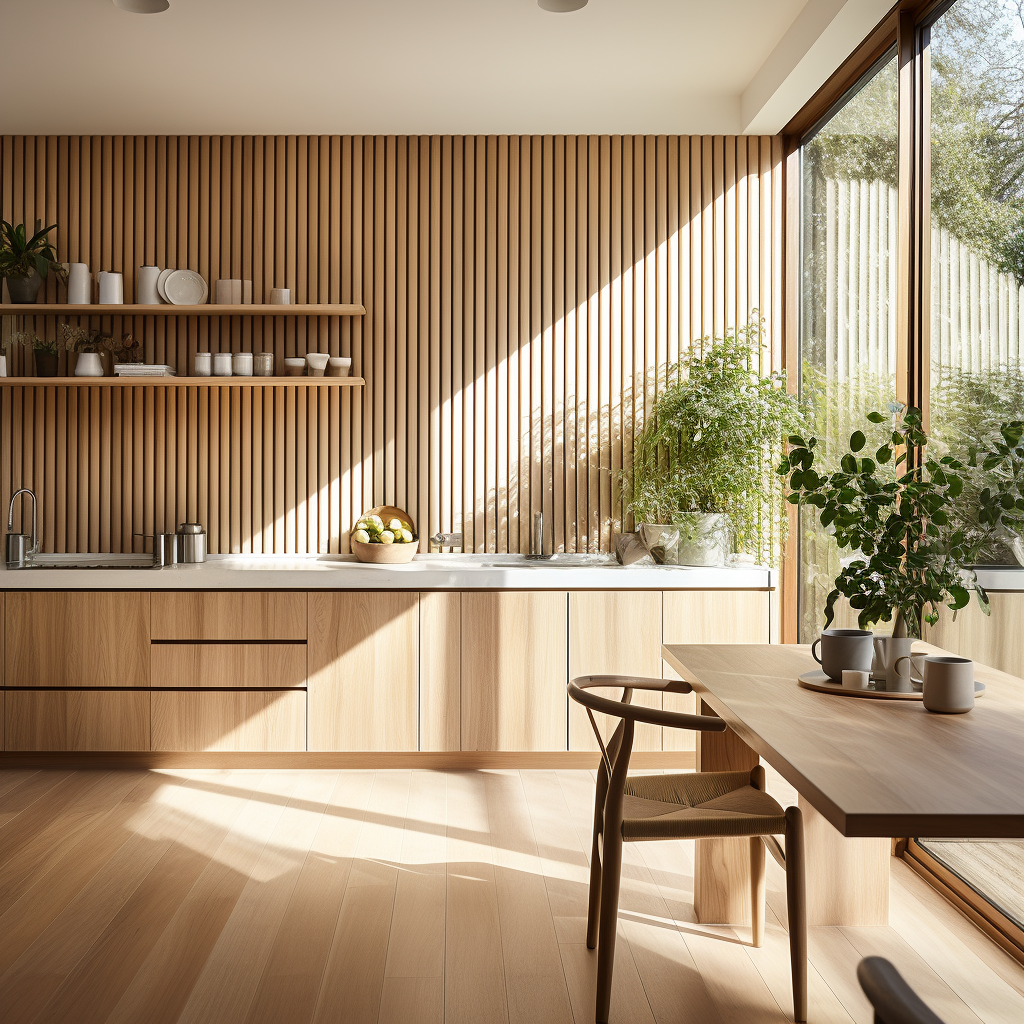
Some materials are meant to blend into the background, while others are designed to define a space. 3-sided wood veneer panels fall into the latter, introducing a finished edge that changes how paneling is used. Instead of relying on full-wall coverage or added trim, these panels allow for clean terminations, exposed edges, and greater flexibility in placement. The result feels more architectural and more intentional from every angle.
This changes how you plan the layout. Focus on where the paneling starts, where it stops, and what it anchors in the room.
Let the Edge Set the Boundary
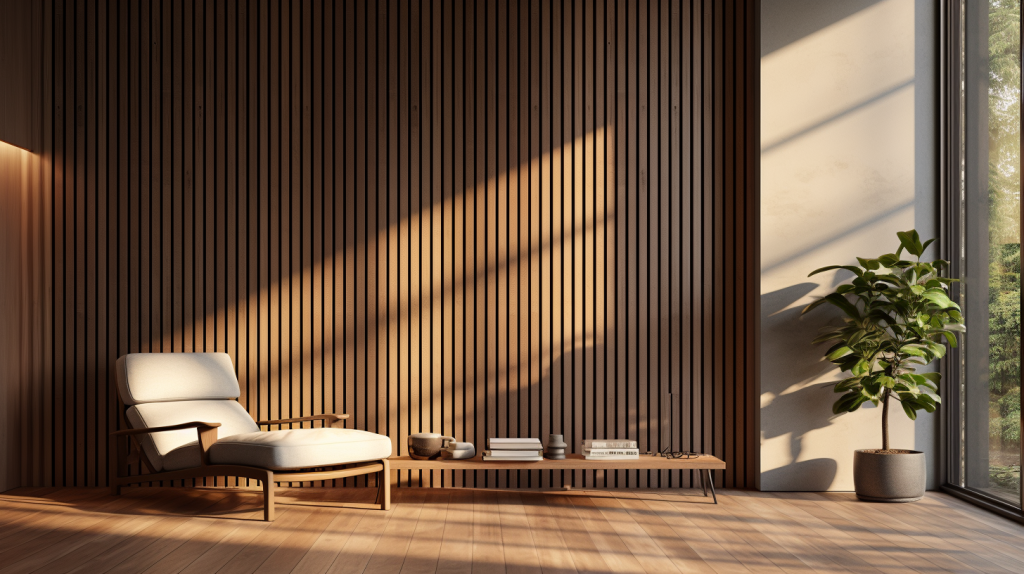
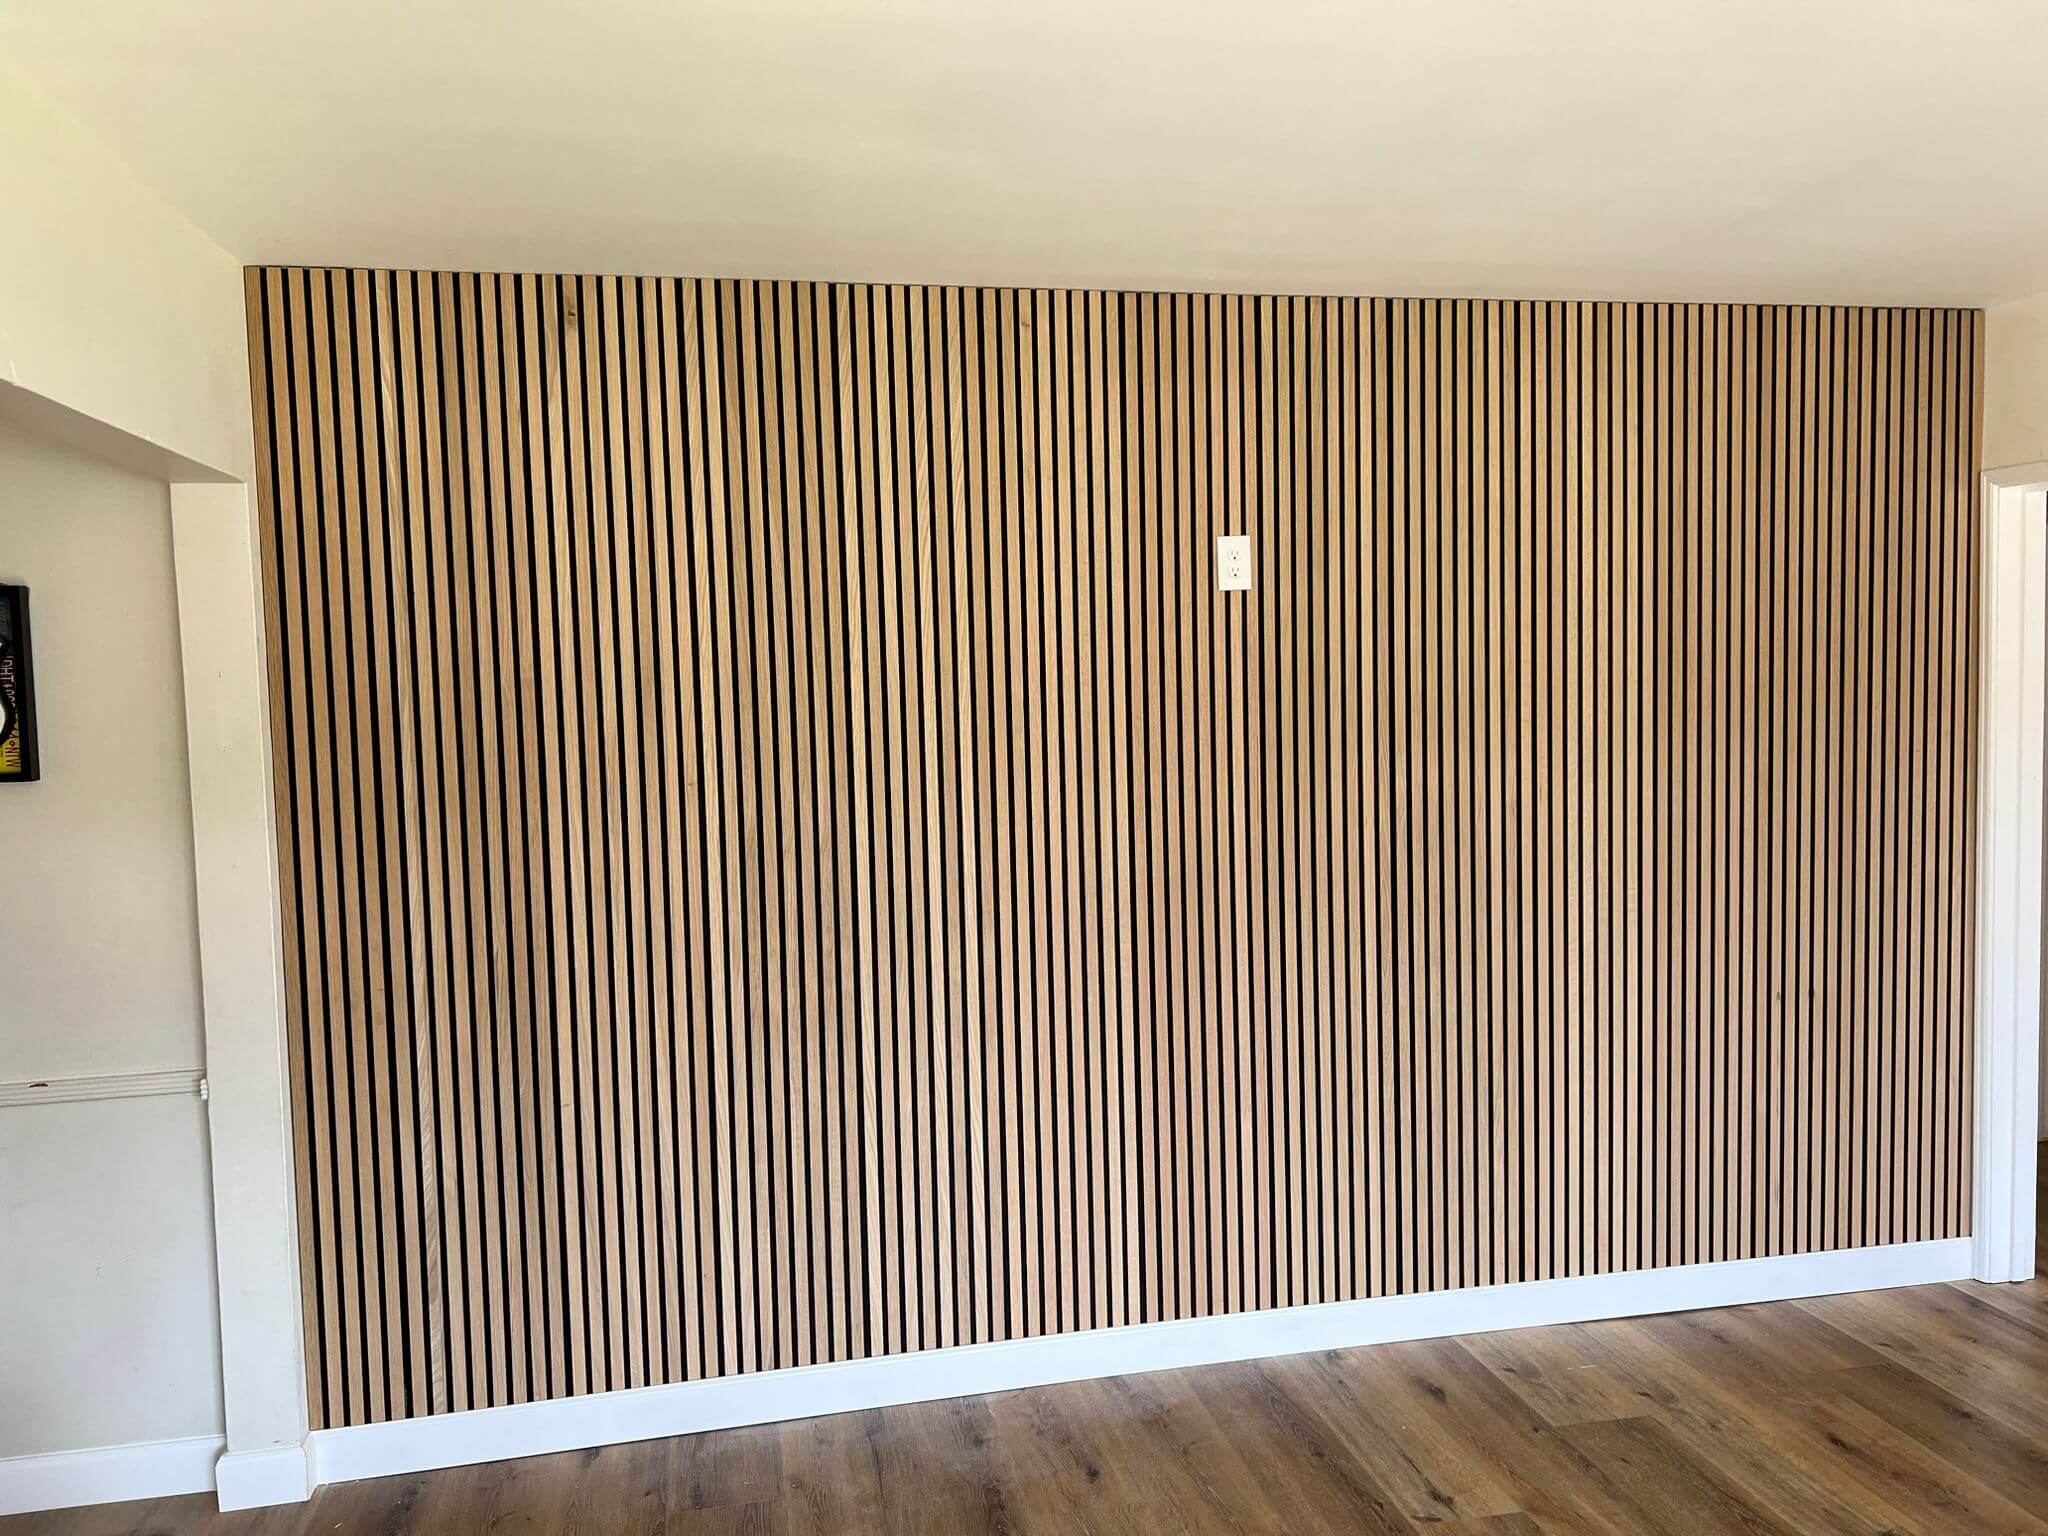
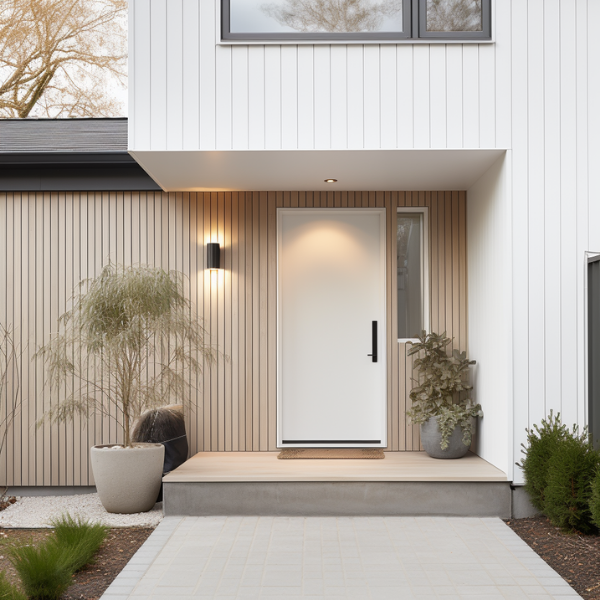
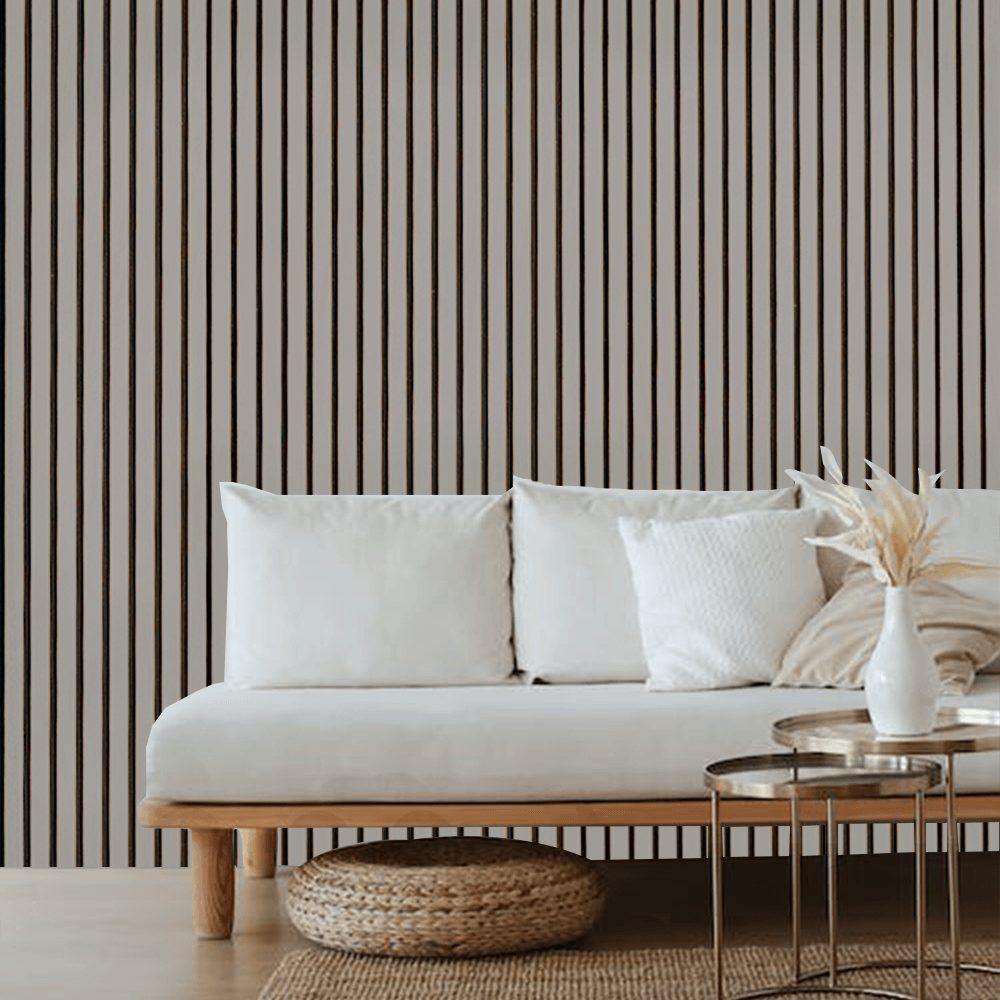
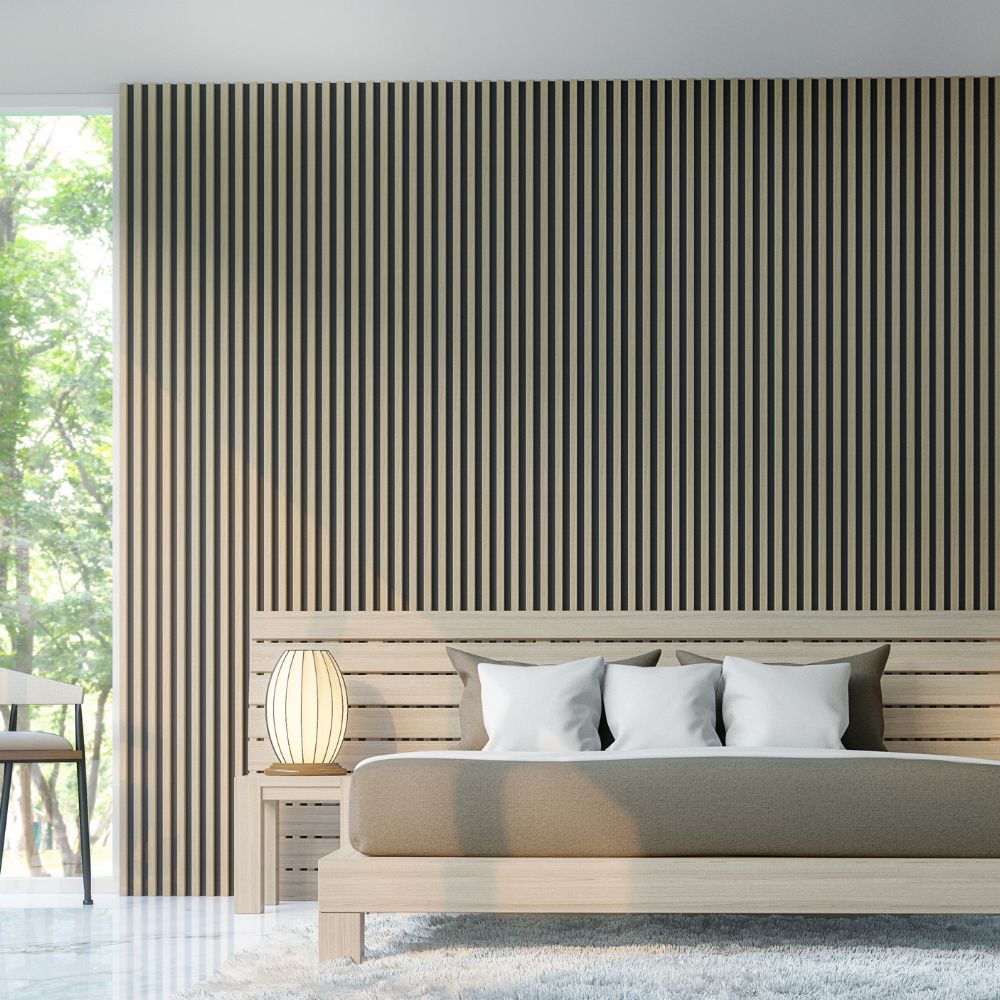
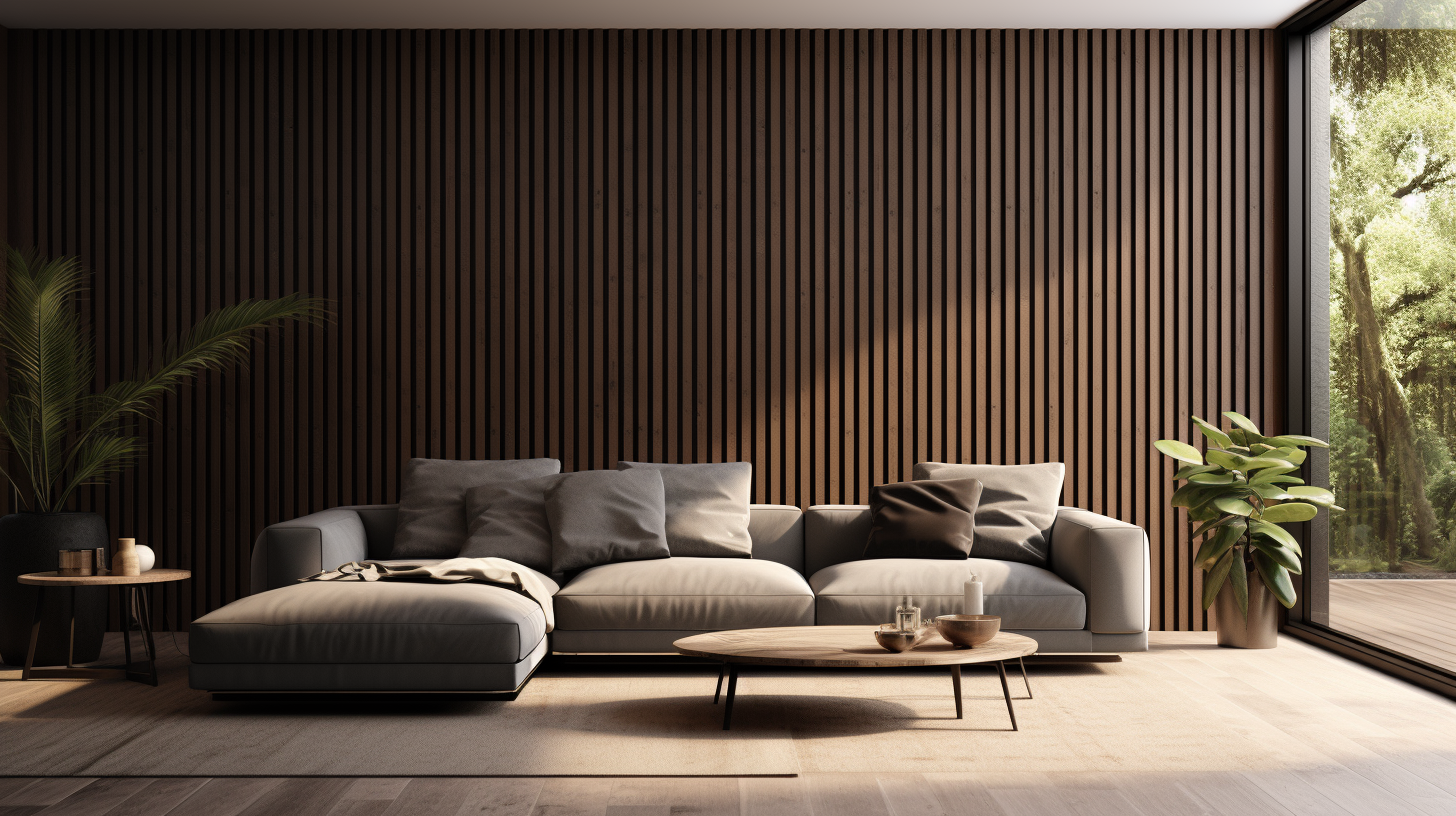
A finished edge creates a defined stopping point, which allows the paneling to act as a contained feature rather than a full-wall treatment. This works especially well when the goal is to add structure without overwhelming the space. Finishes like Natural Oak keep the boundary light and integrated, while darker selections such as the 3-sided Walnut wood panel create a more defined edge against surrounding surfaces.
- TIP: Begin by marking the exact width you want the paneling to occupy. Align those edges with a furniture piece, lighting fixture, or architectural line so the placement feels anchored instead of arbitrary.
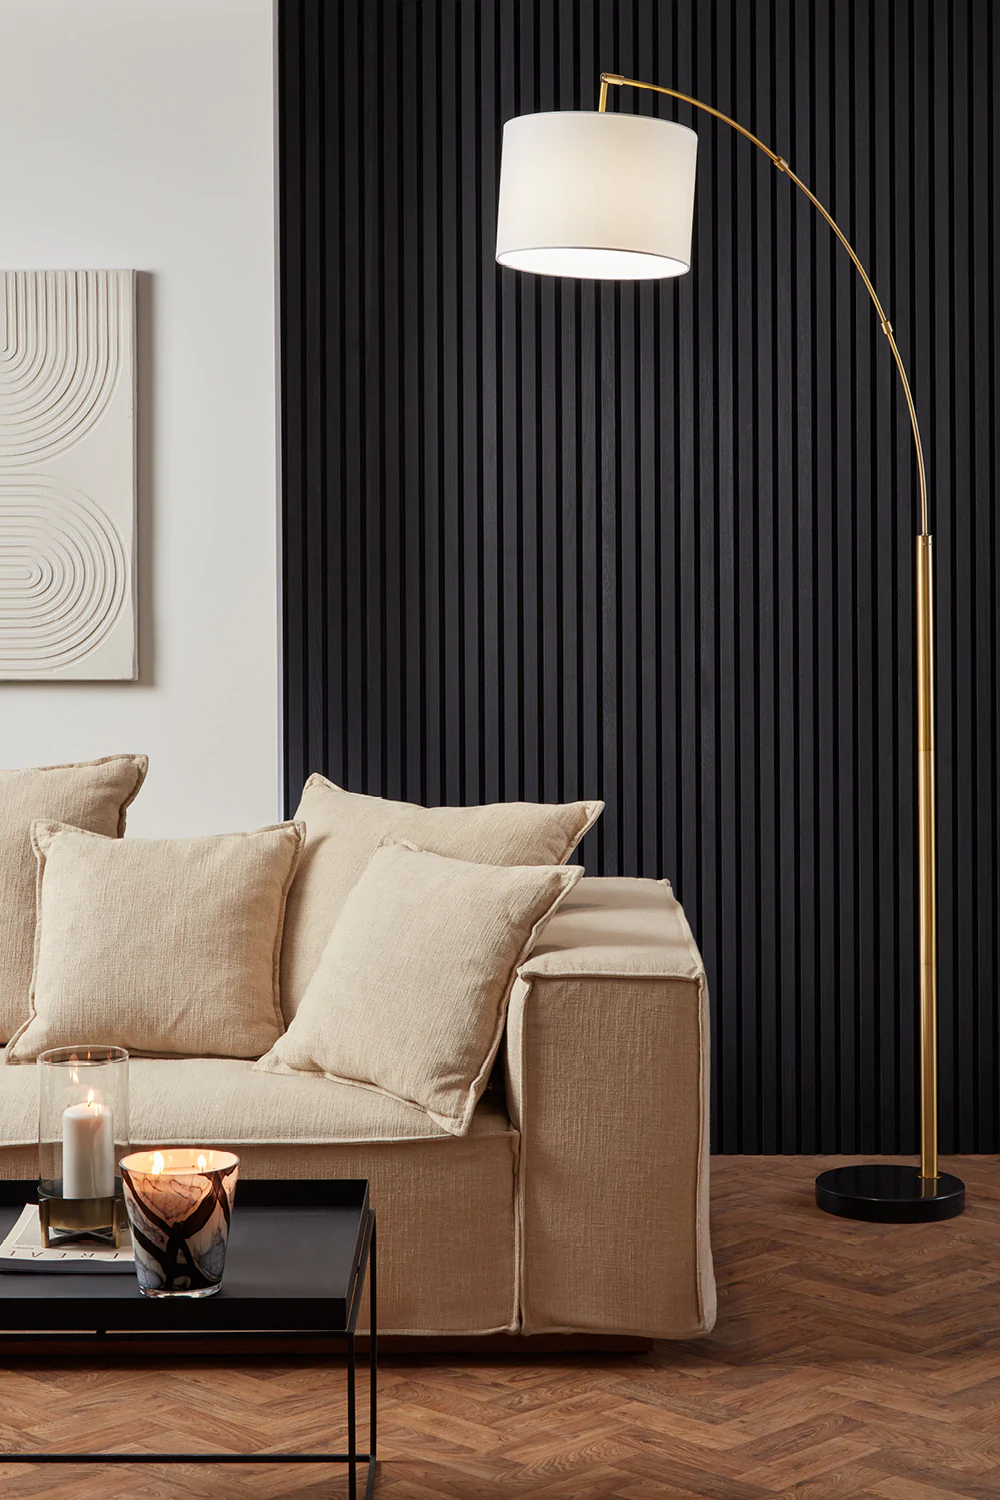
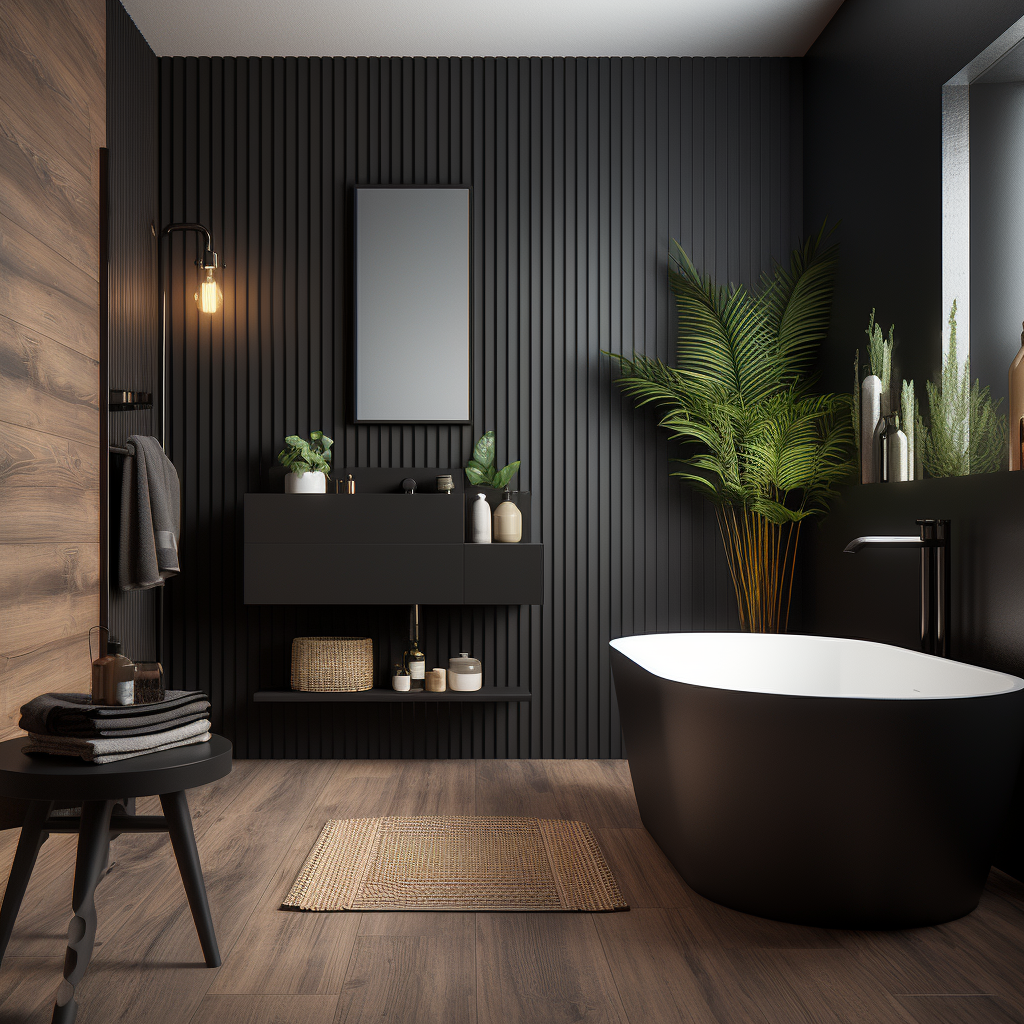
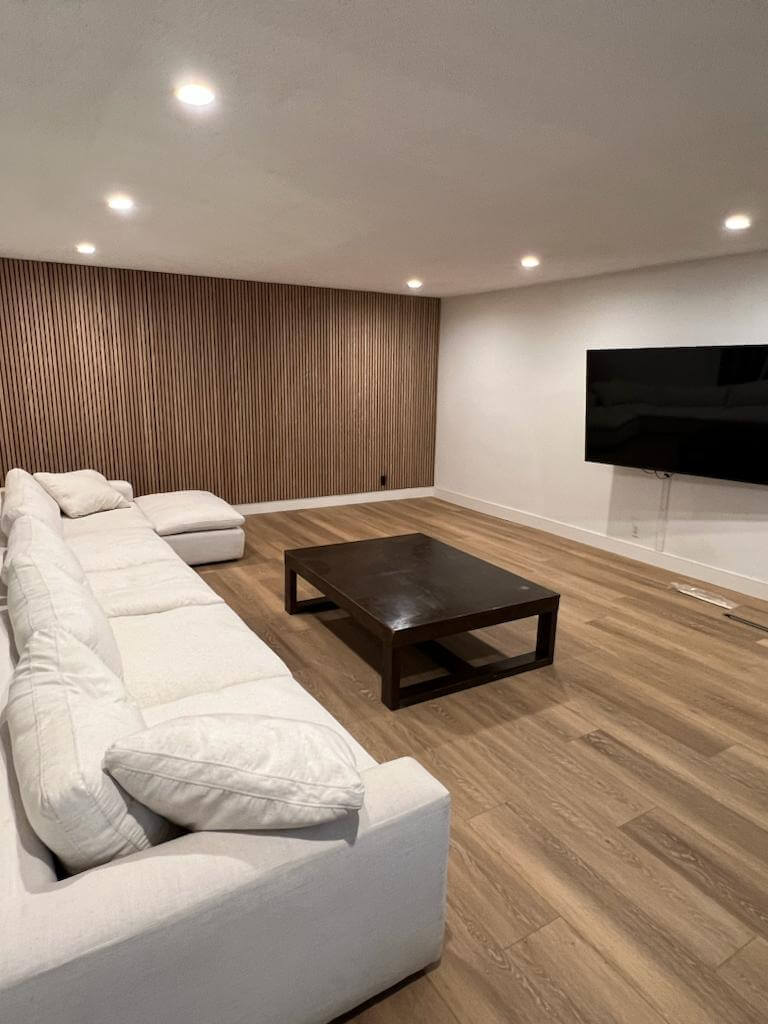
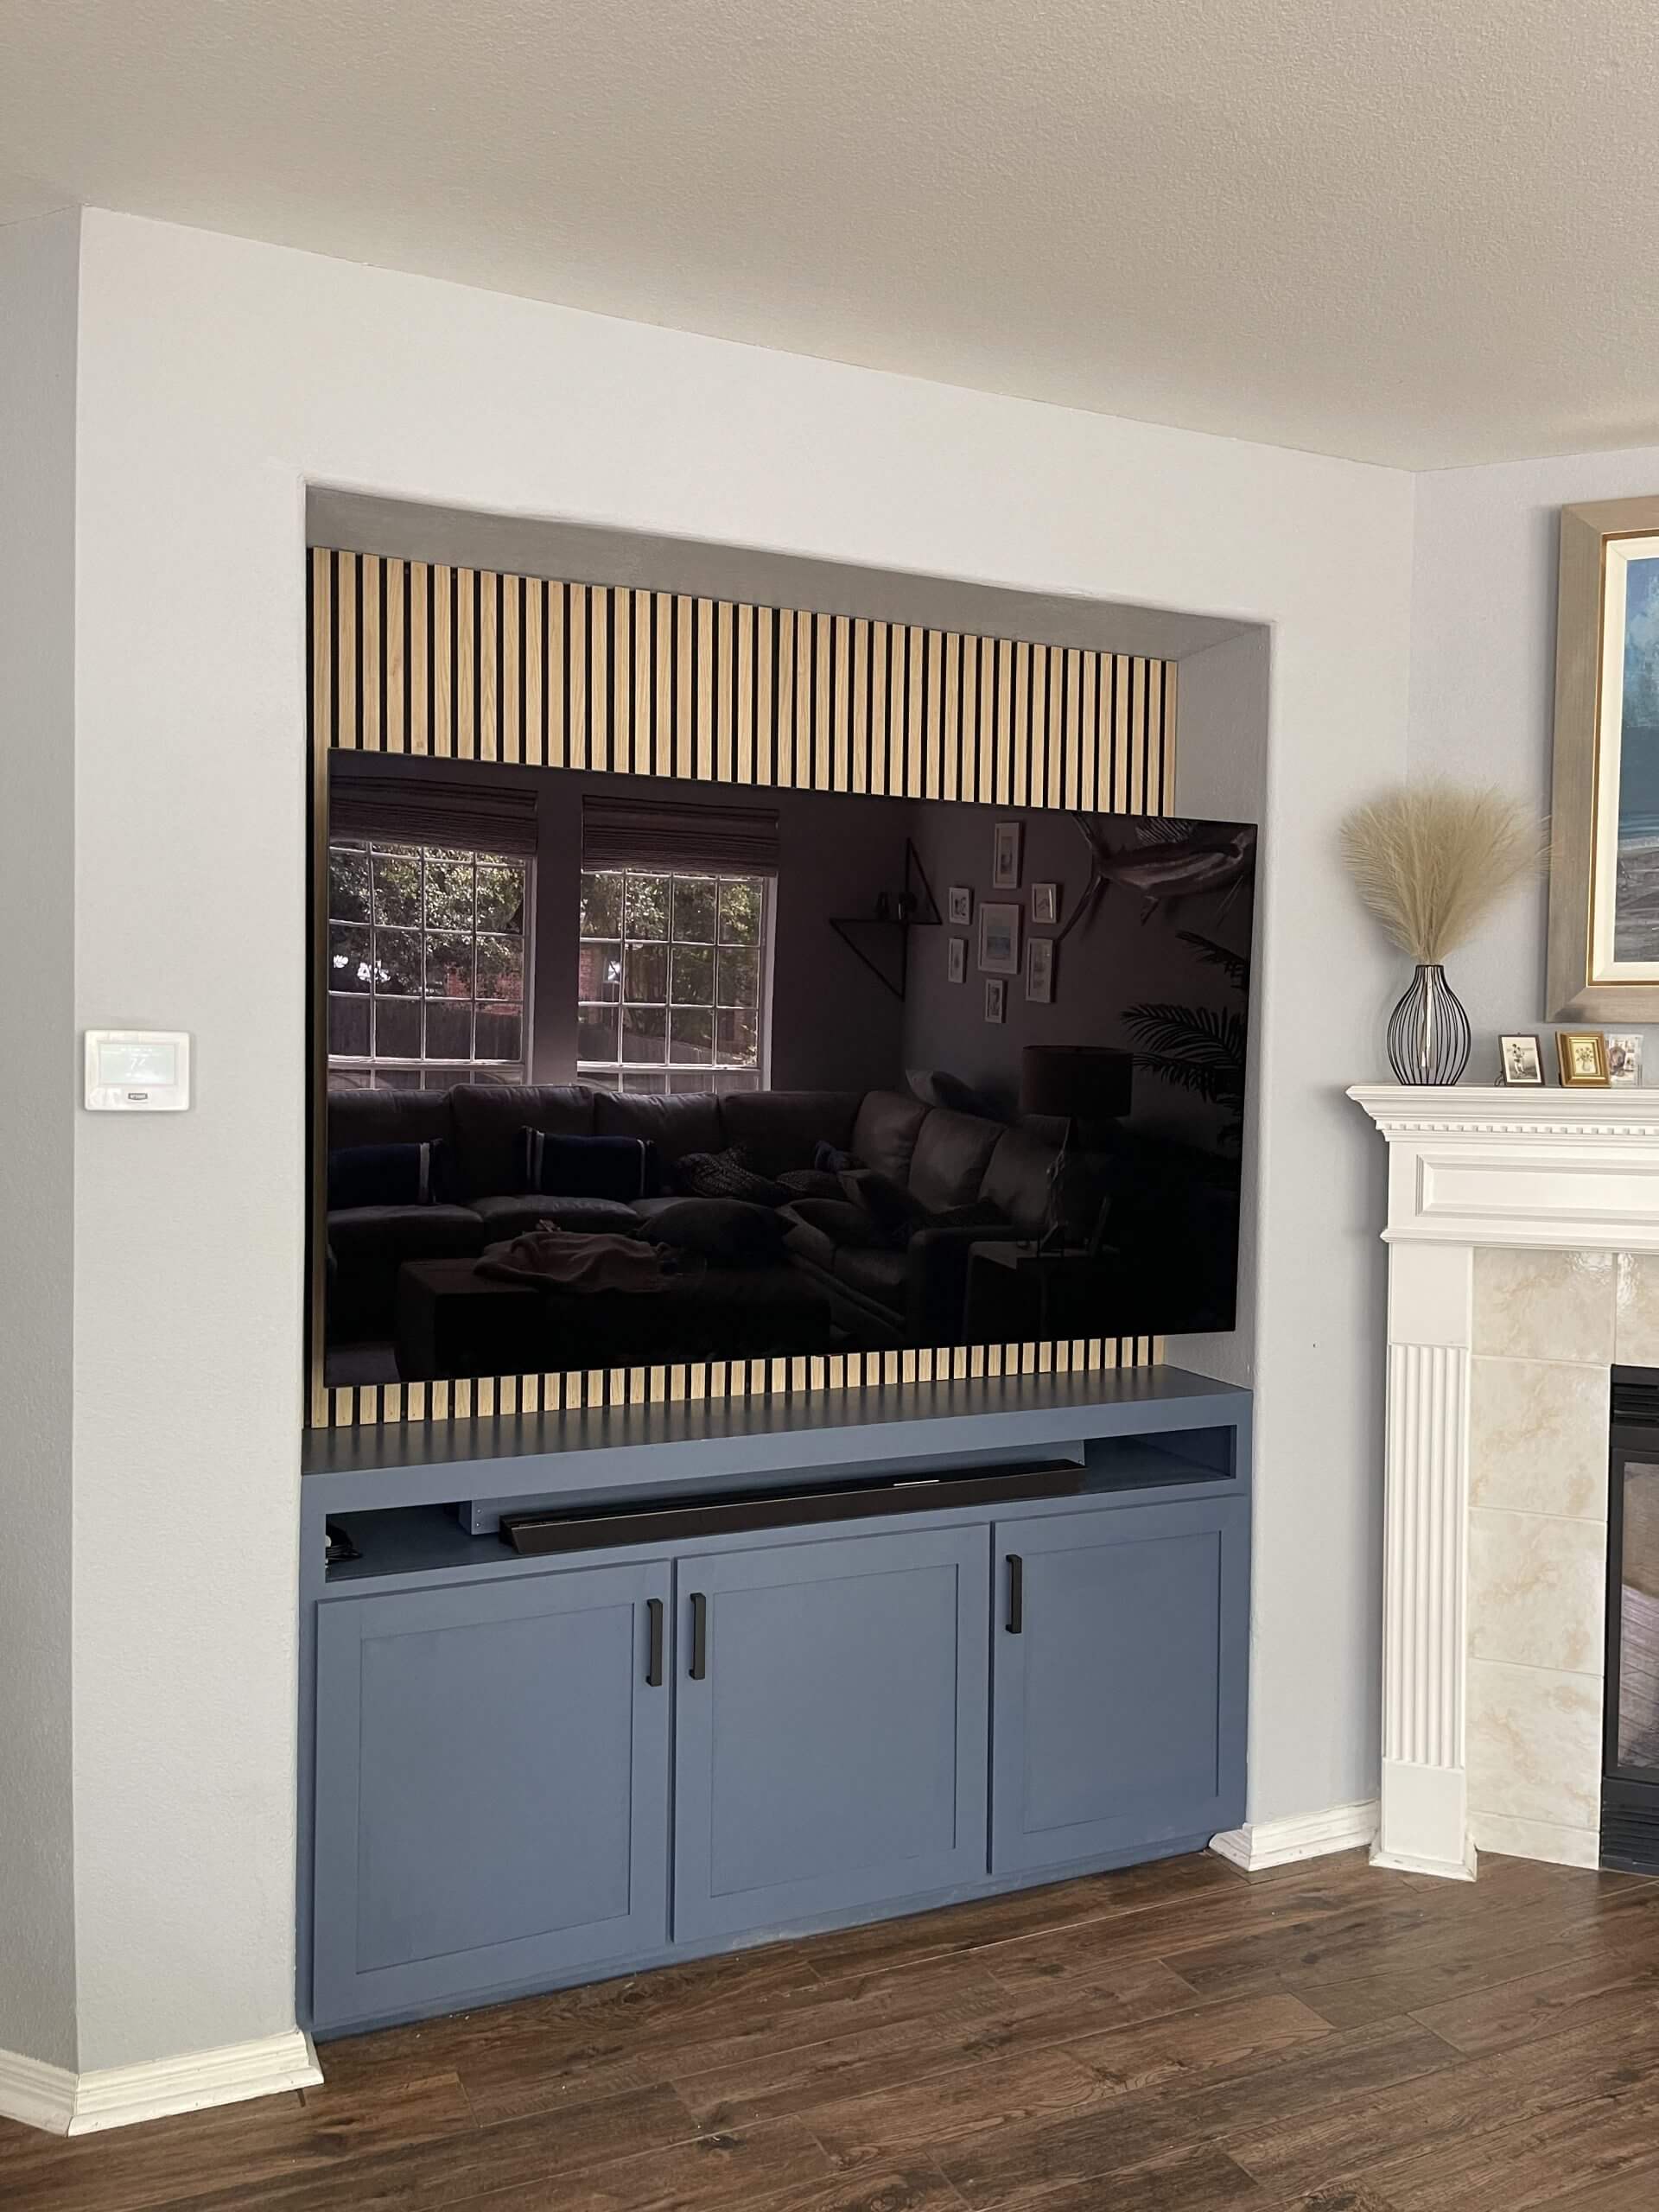
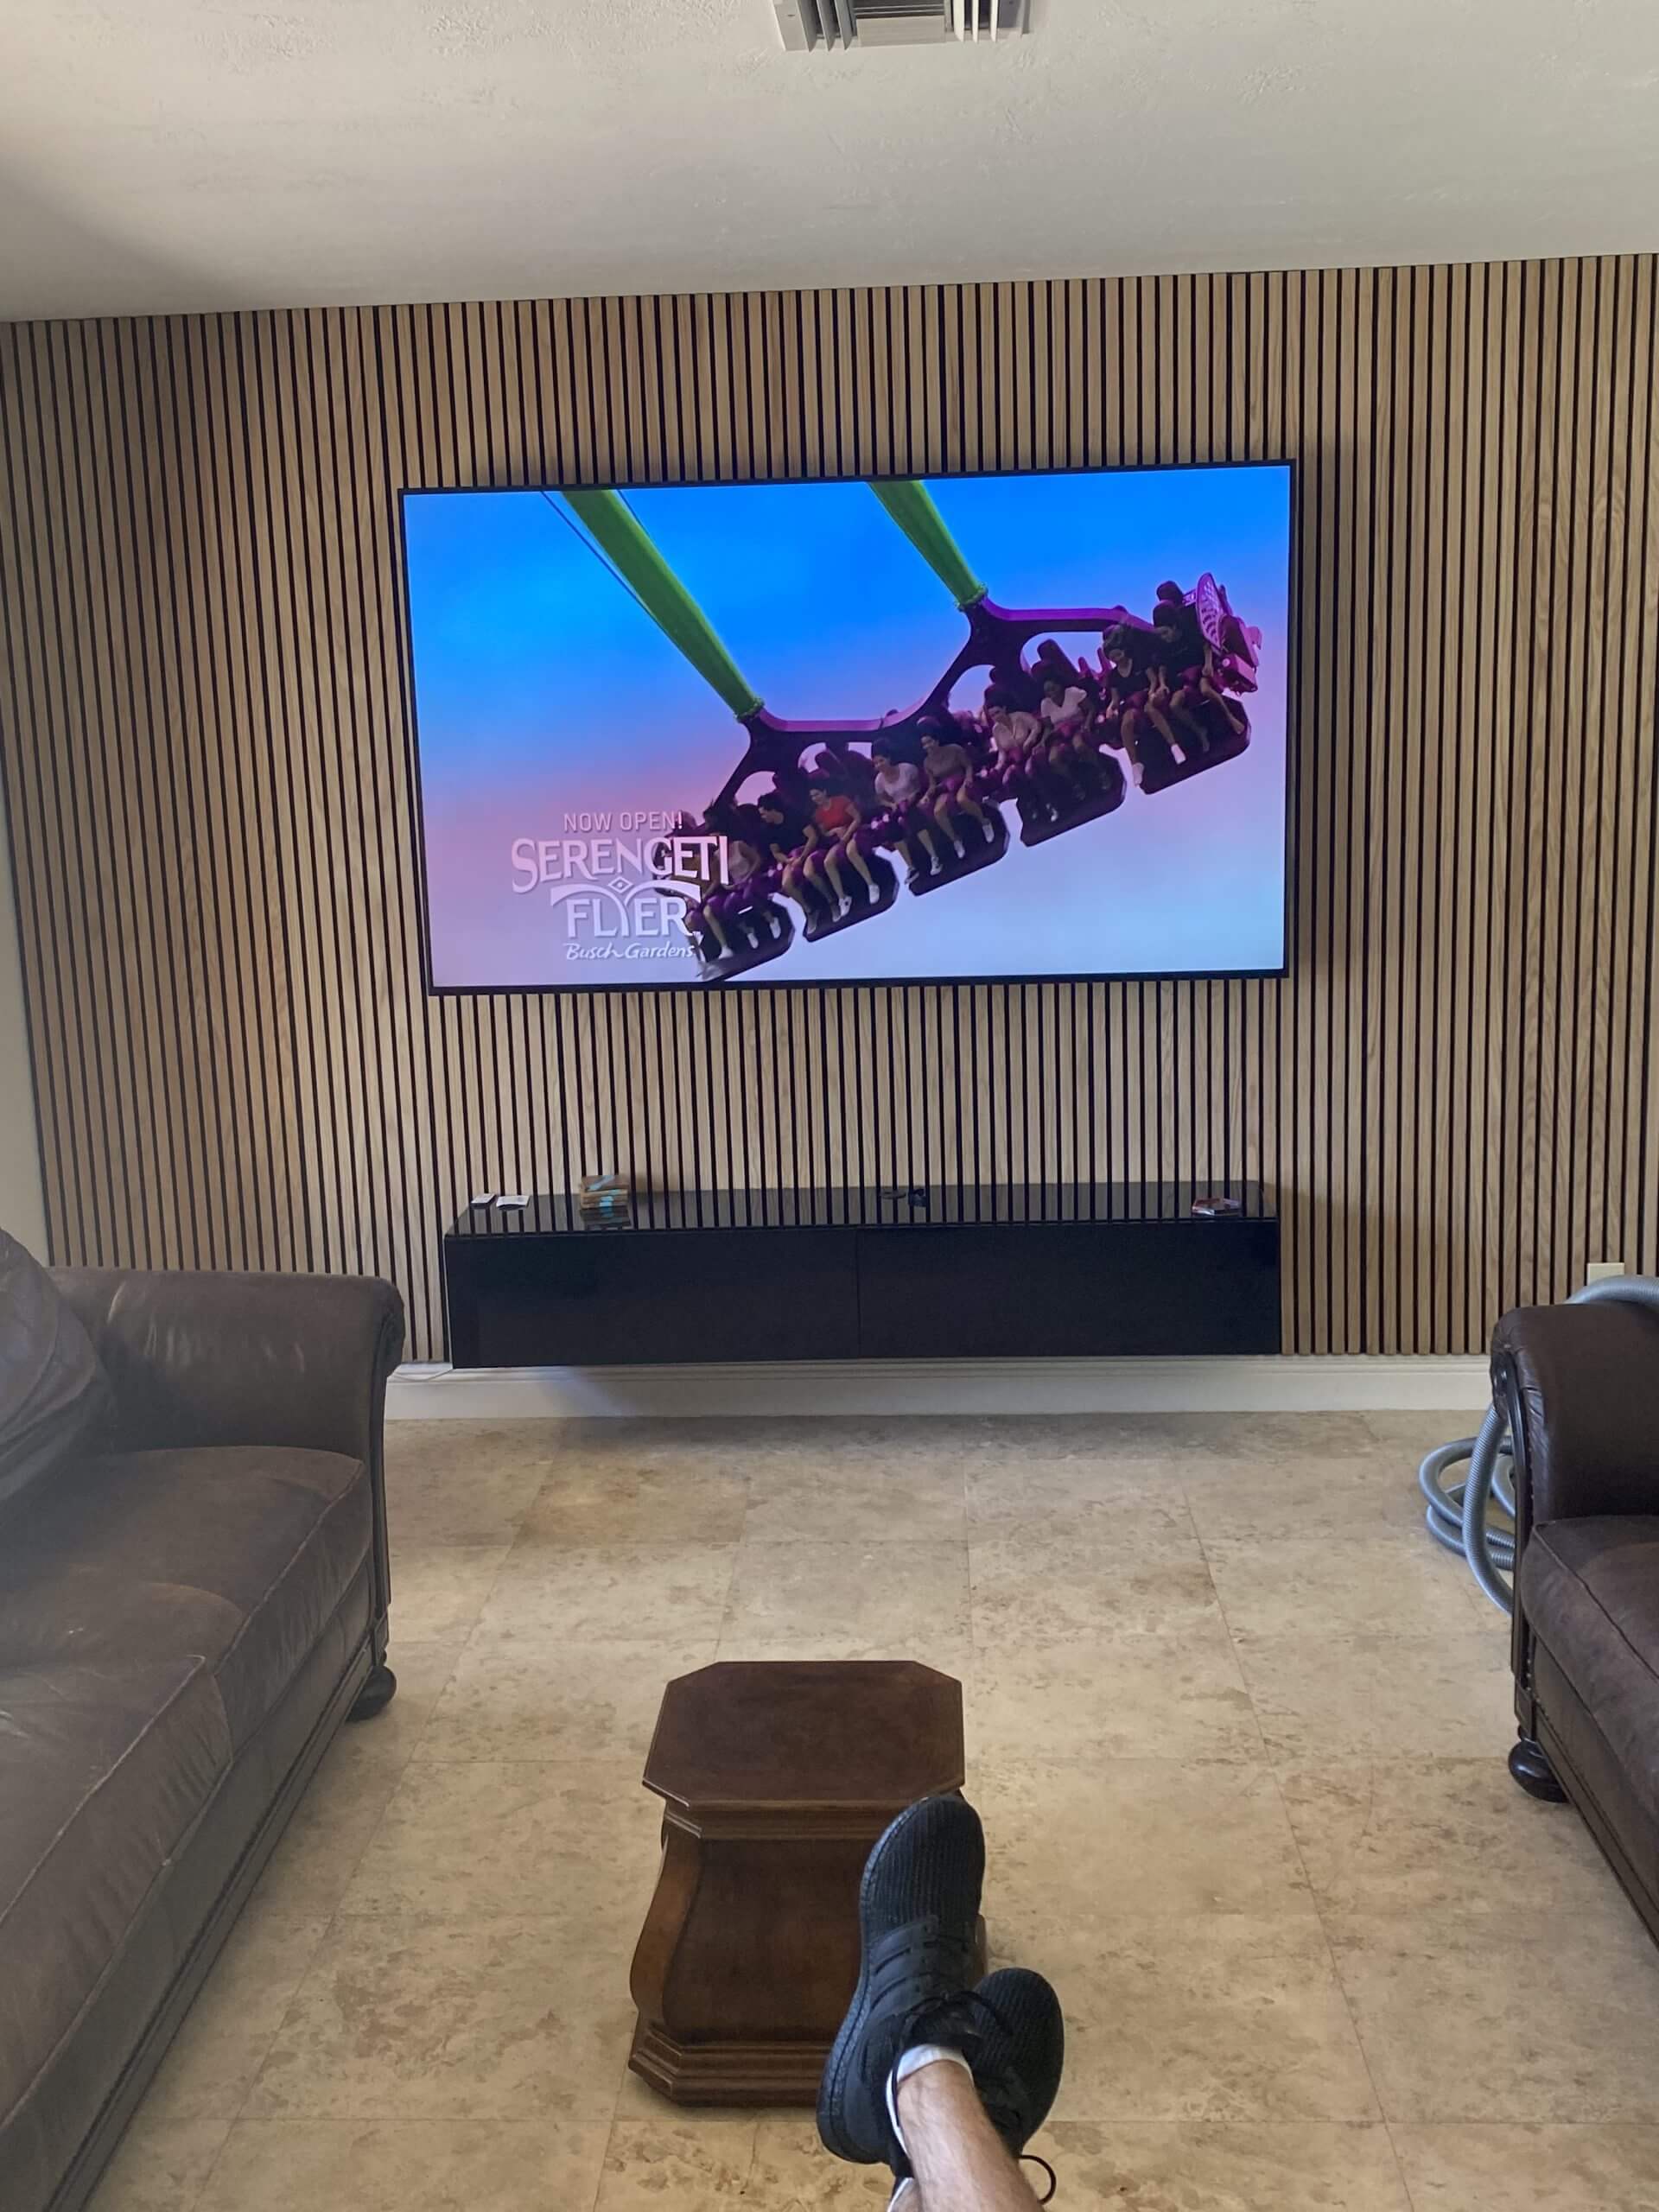
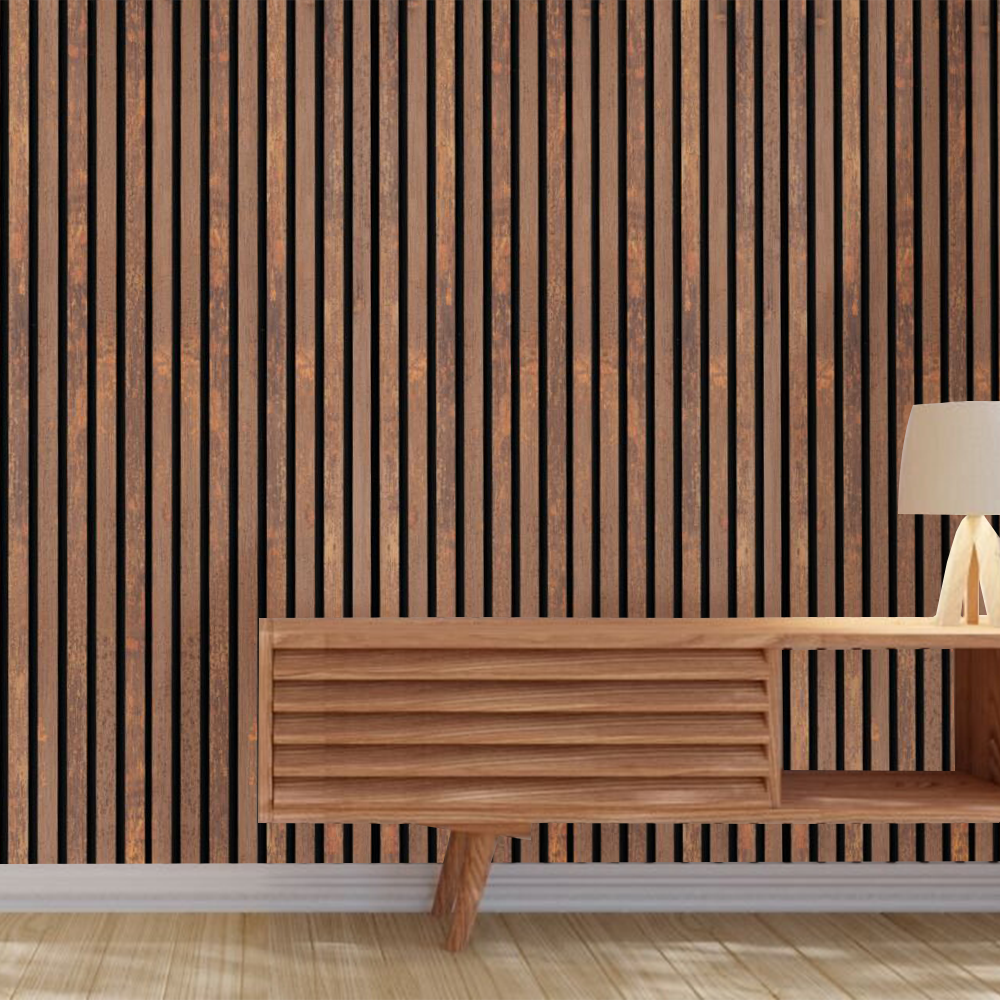
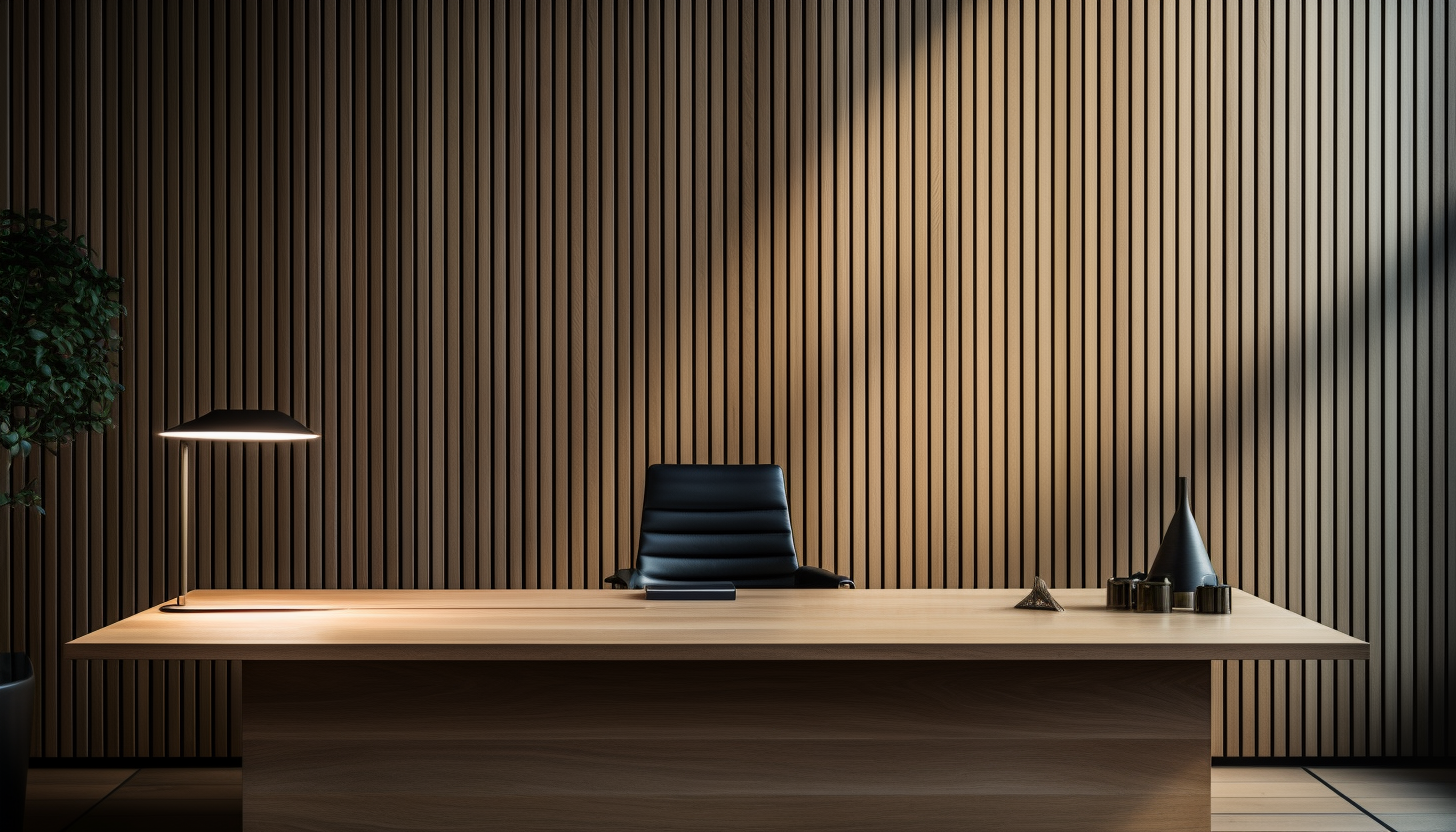
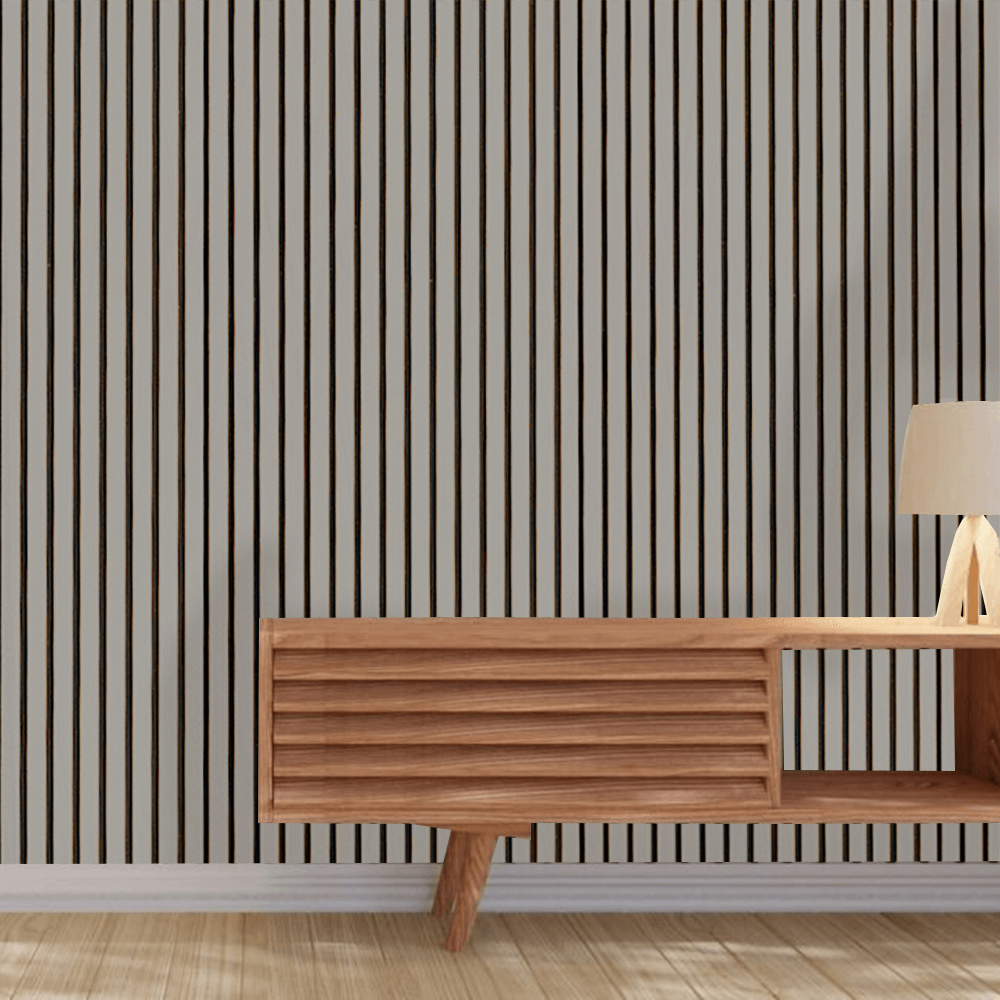
Create Floating Feature Sections
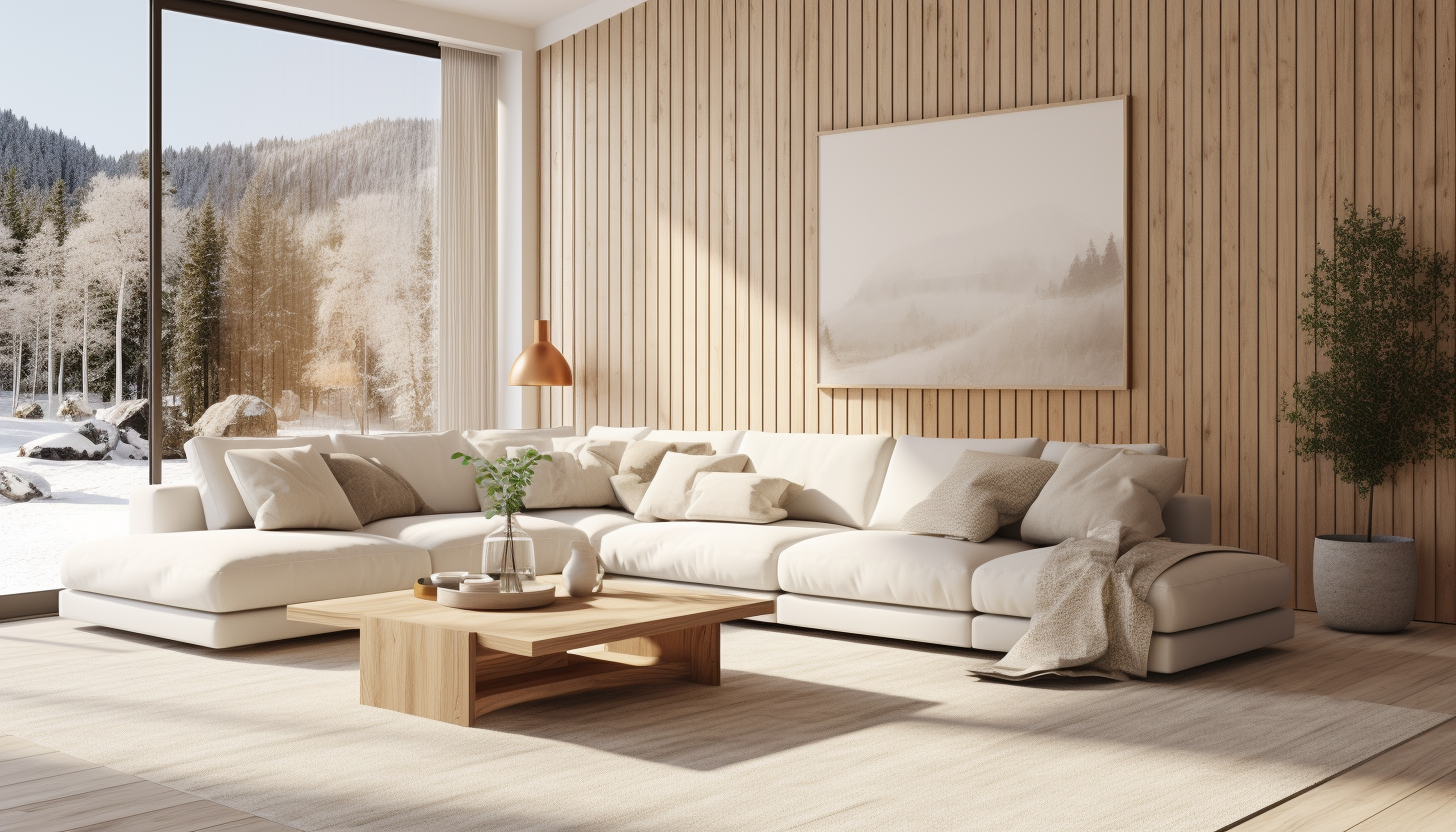
3-sided panels let you introduce paneling without tying it to the full wall dimensions. This allows you the ability to place the material exactly where it supports the layout, whether behind seating, in an entry, or along a focal wall. The exposed edges help the panel read as a designed element rather than something applied after the fact.
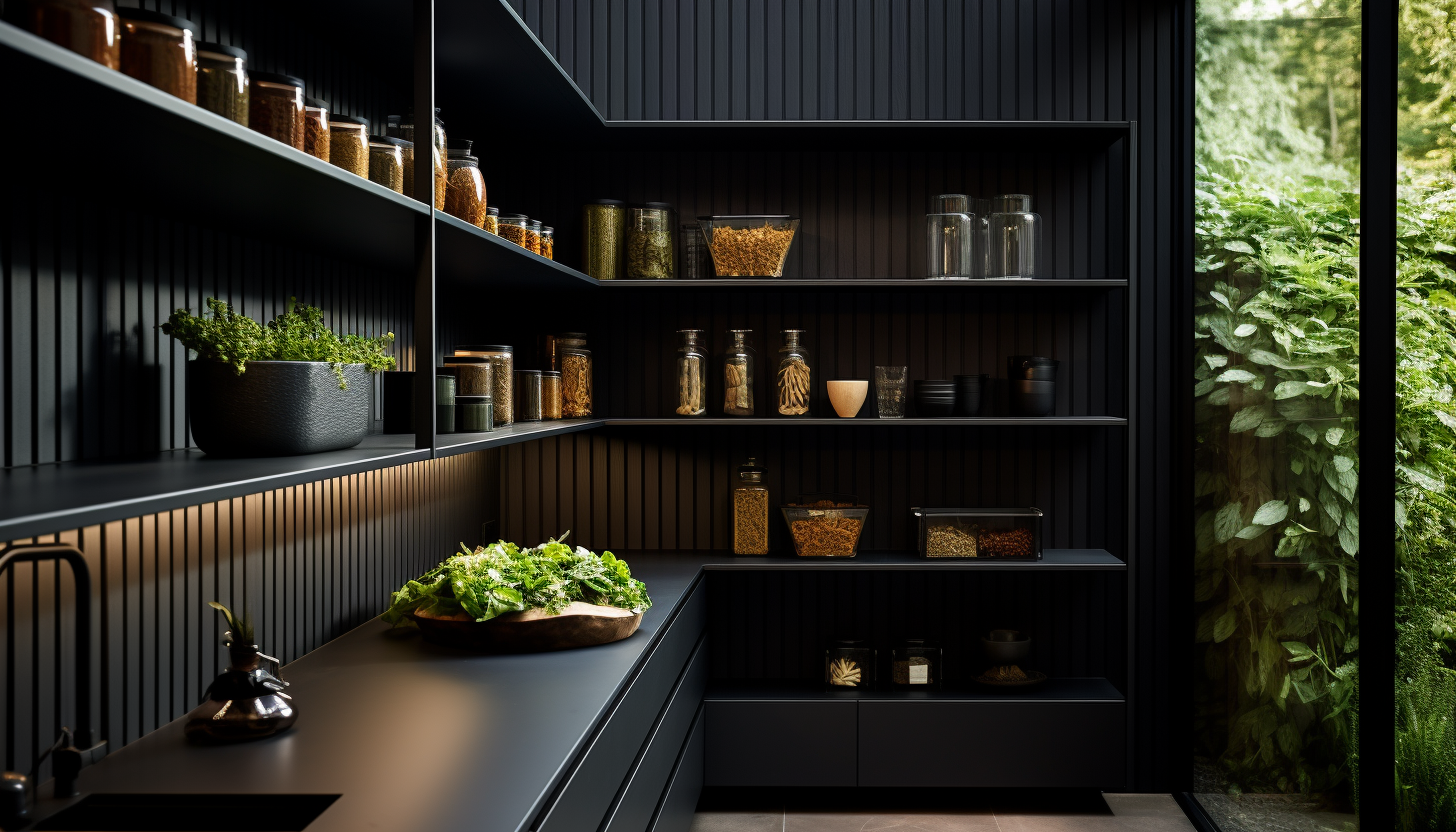
Finish selection plays a role in how prominent that feature becomes. A 3-sided wood panel in Light Oak Smoke keeps the look more subtle and blended, while Black Oak 3-sided wood panel creates contrast and draws attention to the placement.
- TIP: Install paneling behind a sofa, bed, or console and let the edges remain visible. Extend the paneling slightly beyond the furniture’s width to maintain balanced proportions and avoid a narrow or undersized look.
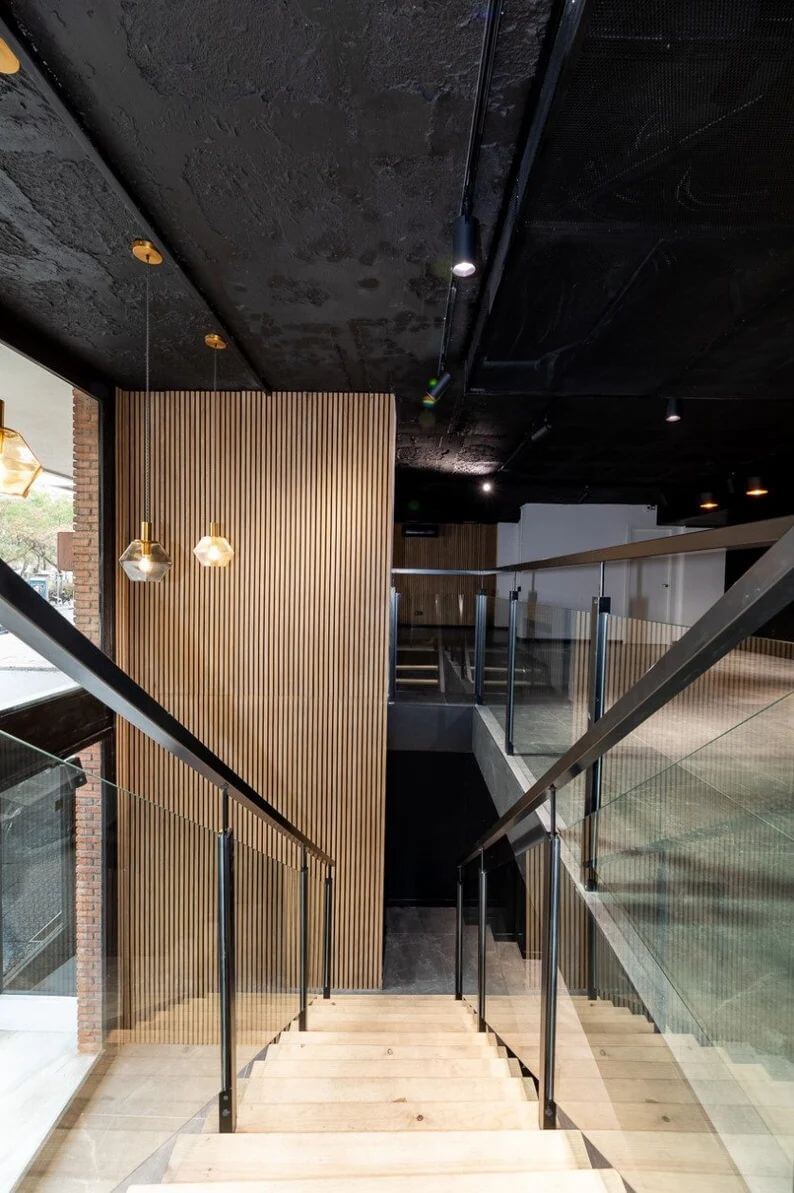
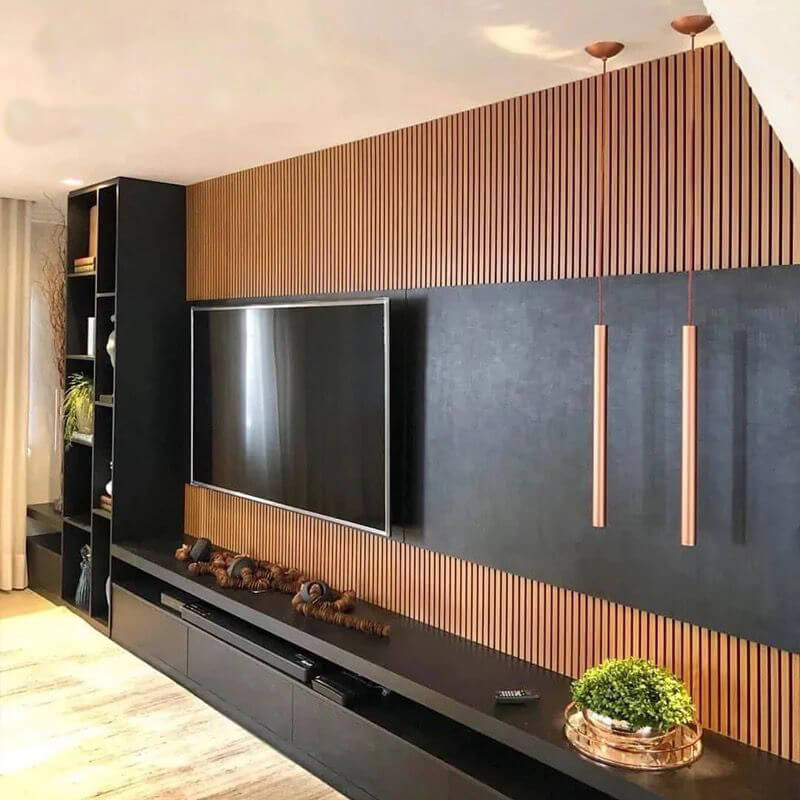
Wrap Architectural Elements with Intention
Columns, half walls, and transitions often interrupt the flow of a space when left untreated. Wrapping those elements with a 3-sided panel creates continuity and brings them into the overall design. The finished edges allow the material to turn corners cleanly without the need for additional trim pieces.
Consistency becomes the priority here. Using a finish like Brown Oak Smoke across all faces keeps the surface unified, while careful alignment ensures the spacing continues evenly from one side to the next.
- TIP: Measure each face of the surface before installation and plan how the panels will wrap around corners. Keep spacing consistent across all sides so the rhythm continues uninterrupted from every angle.
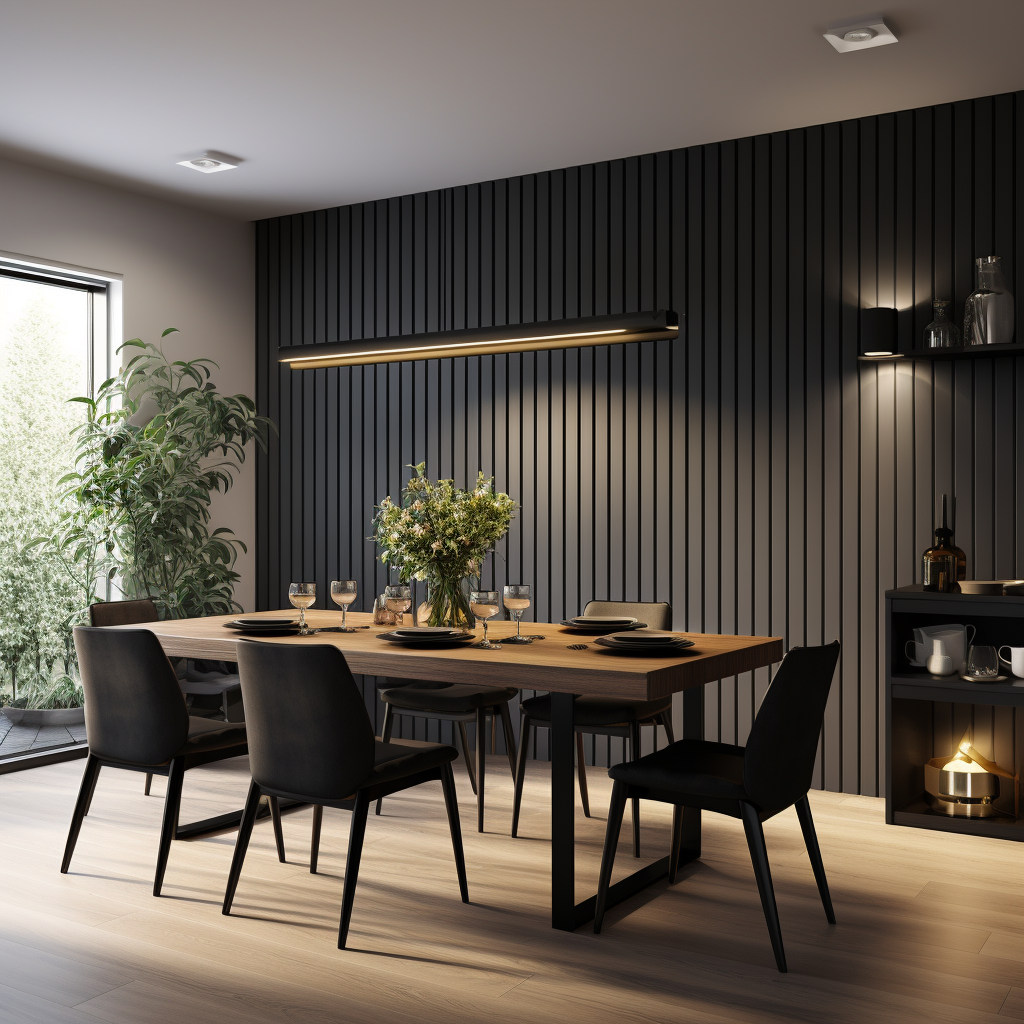
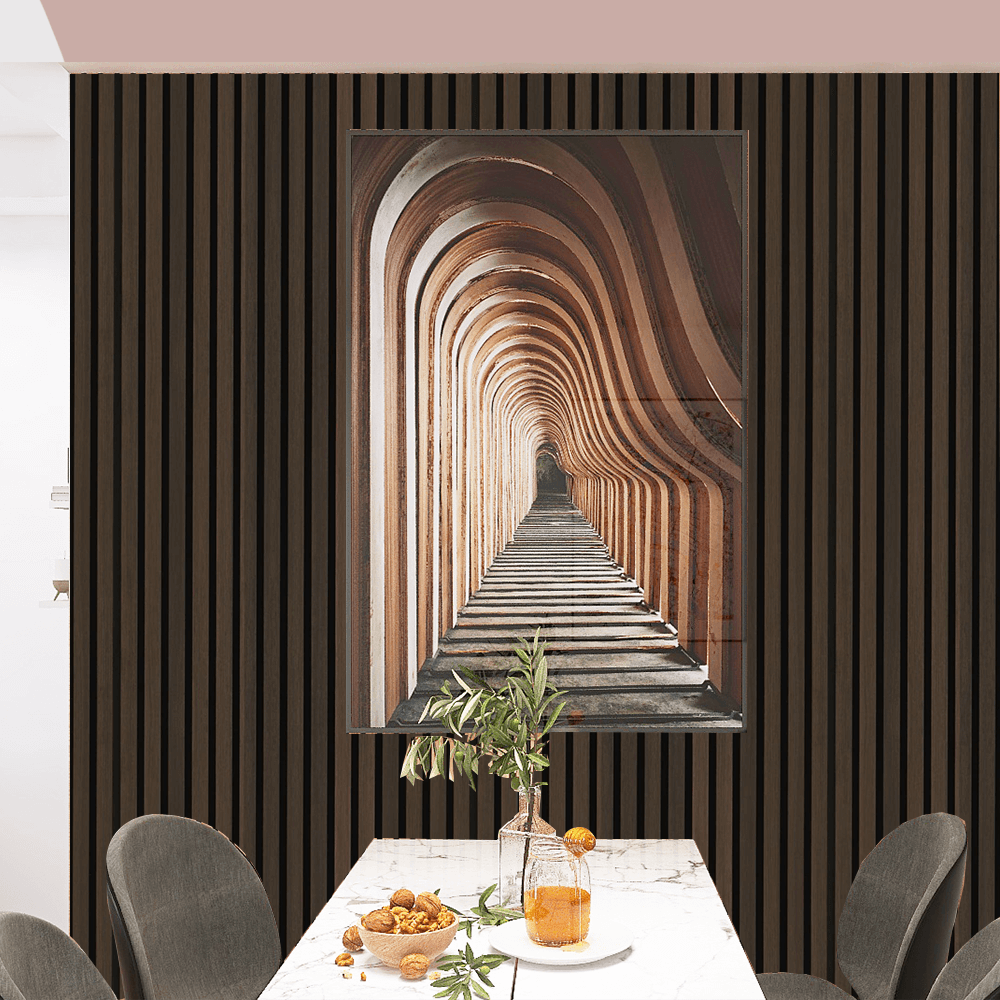
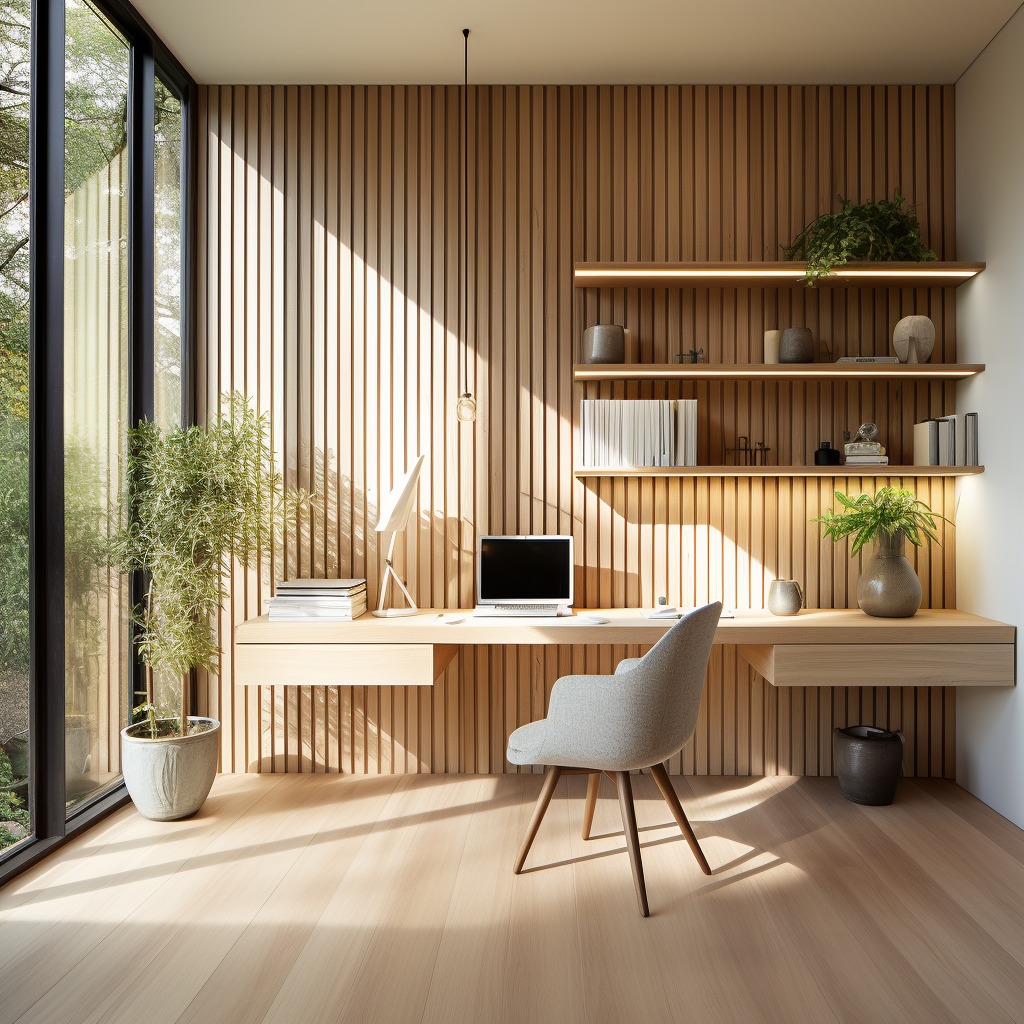
Define Space Without Closing It Off
Open layouts benefit from subtle ways to create separation without adding walls or barriers. A 3-sided panel defines a zone by introducing a vertical surface that stands on its own. The finished edges give the surface a sense of completeness without needing to connect to surrounding walls.
Placement determines how effective this becomes. The panel reads clearly when tied to something specific within the layout, such as a seating area or dining zone, so it feels intentional rather than decorative.
- TIP: Anchor the paneling to a defined element in the room. Align it with the edge of a dining table or seating area, use it to frame a console or bar, and position lighting above or beside it to reinforce the zone. Keep the width proportional to the area it defines so the panel feels balanced within the space.
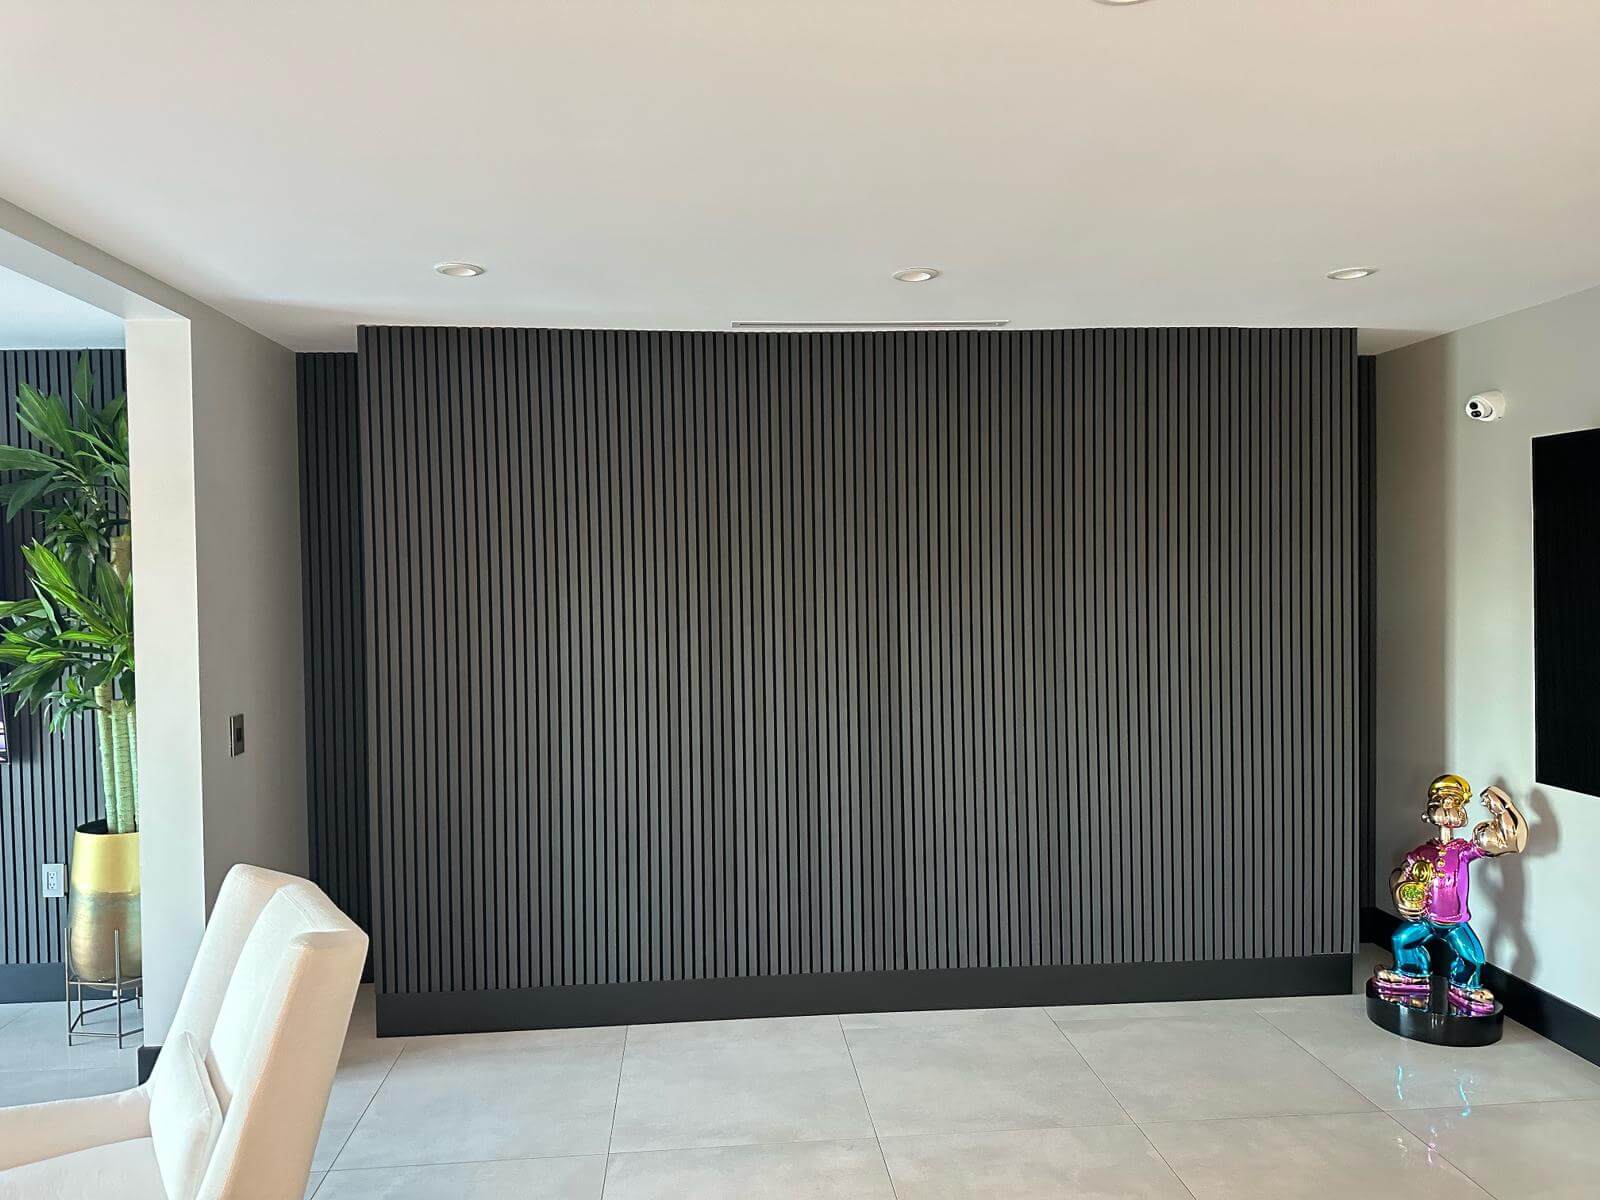
Keep Transitions Clean and Controlled
The edges of a 3-sided panel determine how the installation reads once complete. Clean terminations allow the panel to integrate into the space without added trim or visual interruption. This level of control gives the material a more architectural presence.
Planning ahead prevents awkward cuts and uneven spacing at the edges. Aligning the panel with vertical lines in the room, such as door frames or cabinetry, keeps everything visually consistent.
- TIP: Before installation, look closely at where each edge will land. Adjust placement so the panel ends on a clean vertical line and avoids awkward cuts or partial spacing at the edge.
Here to Help You Design with Precision
At Wood Panel Wall Miami, we love helping our customers create inspiring spaces. Our 3-sided wood panels are ideal for projects that call for clean edges and flexible placement. Whether you’re creating a defined feature, wrapping an architectural element, or refining transitions, we’re here to help from concept to installation. Browse the collection, request samples, or visit our showroom to see how these panels work in real applications.


